Canon M3 Screen Repair
2026-03-08
Repair job involving a ripped display cable in a Canon M3 camera
This camera was brought to me in a sad state, it had been sitting for a while as the owner was
quoted several hundred dollars for what seemed to be a simple repair. All that appeared to have
happened was that the display cable had been ripped and thus detached from the body.
Wireless display!
I got the new cable for the display, which was a very cheap part ~$10NZD and noticed that the cable
was substantially longer than I thought it would be; I understood that it would be long due to all
movement it has to sustain, but this is a really long cable.
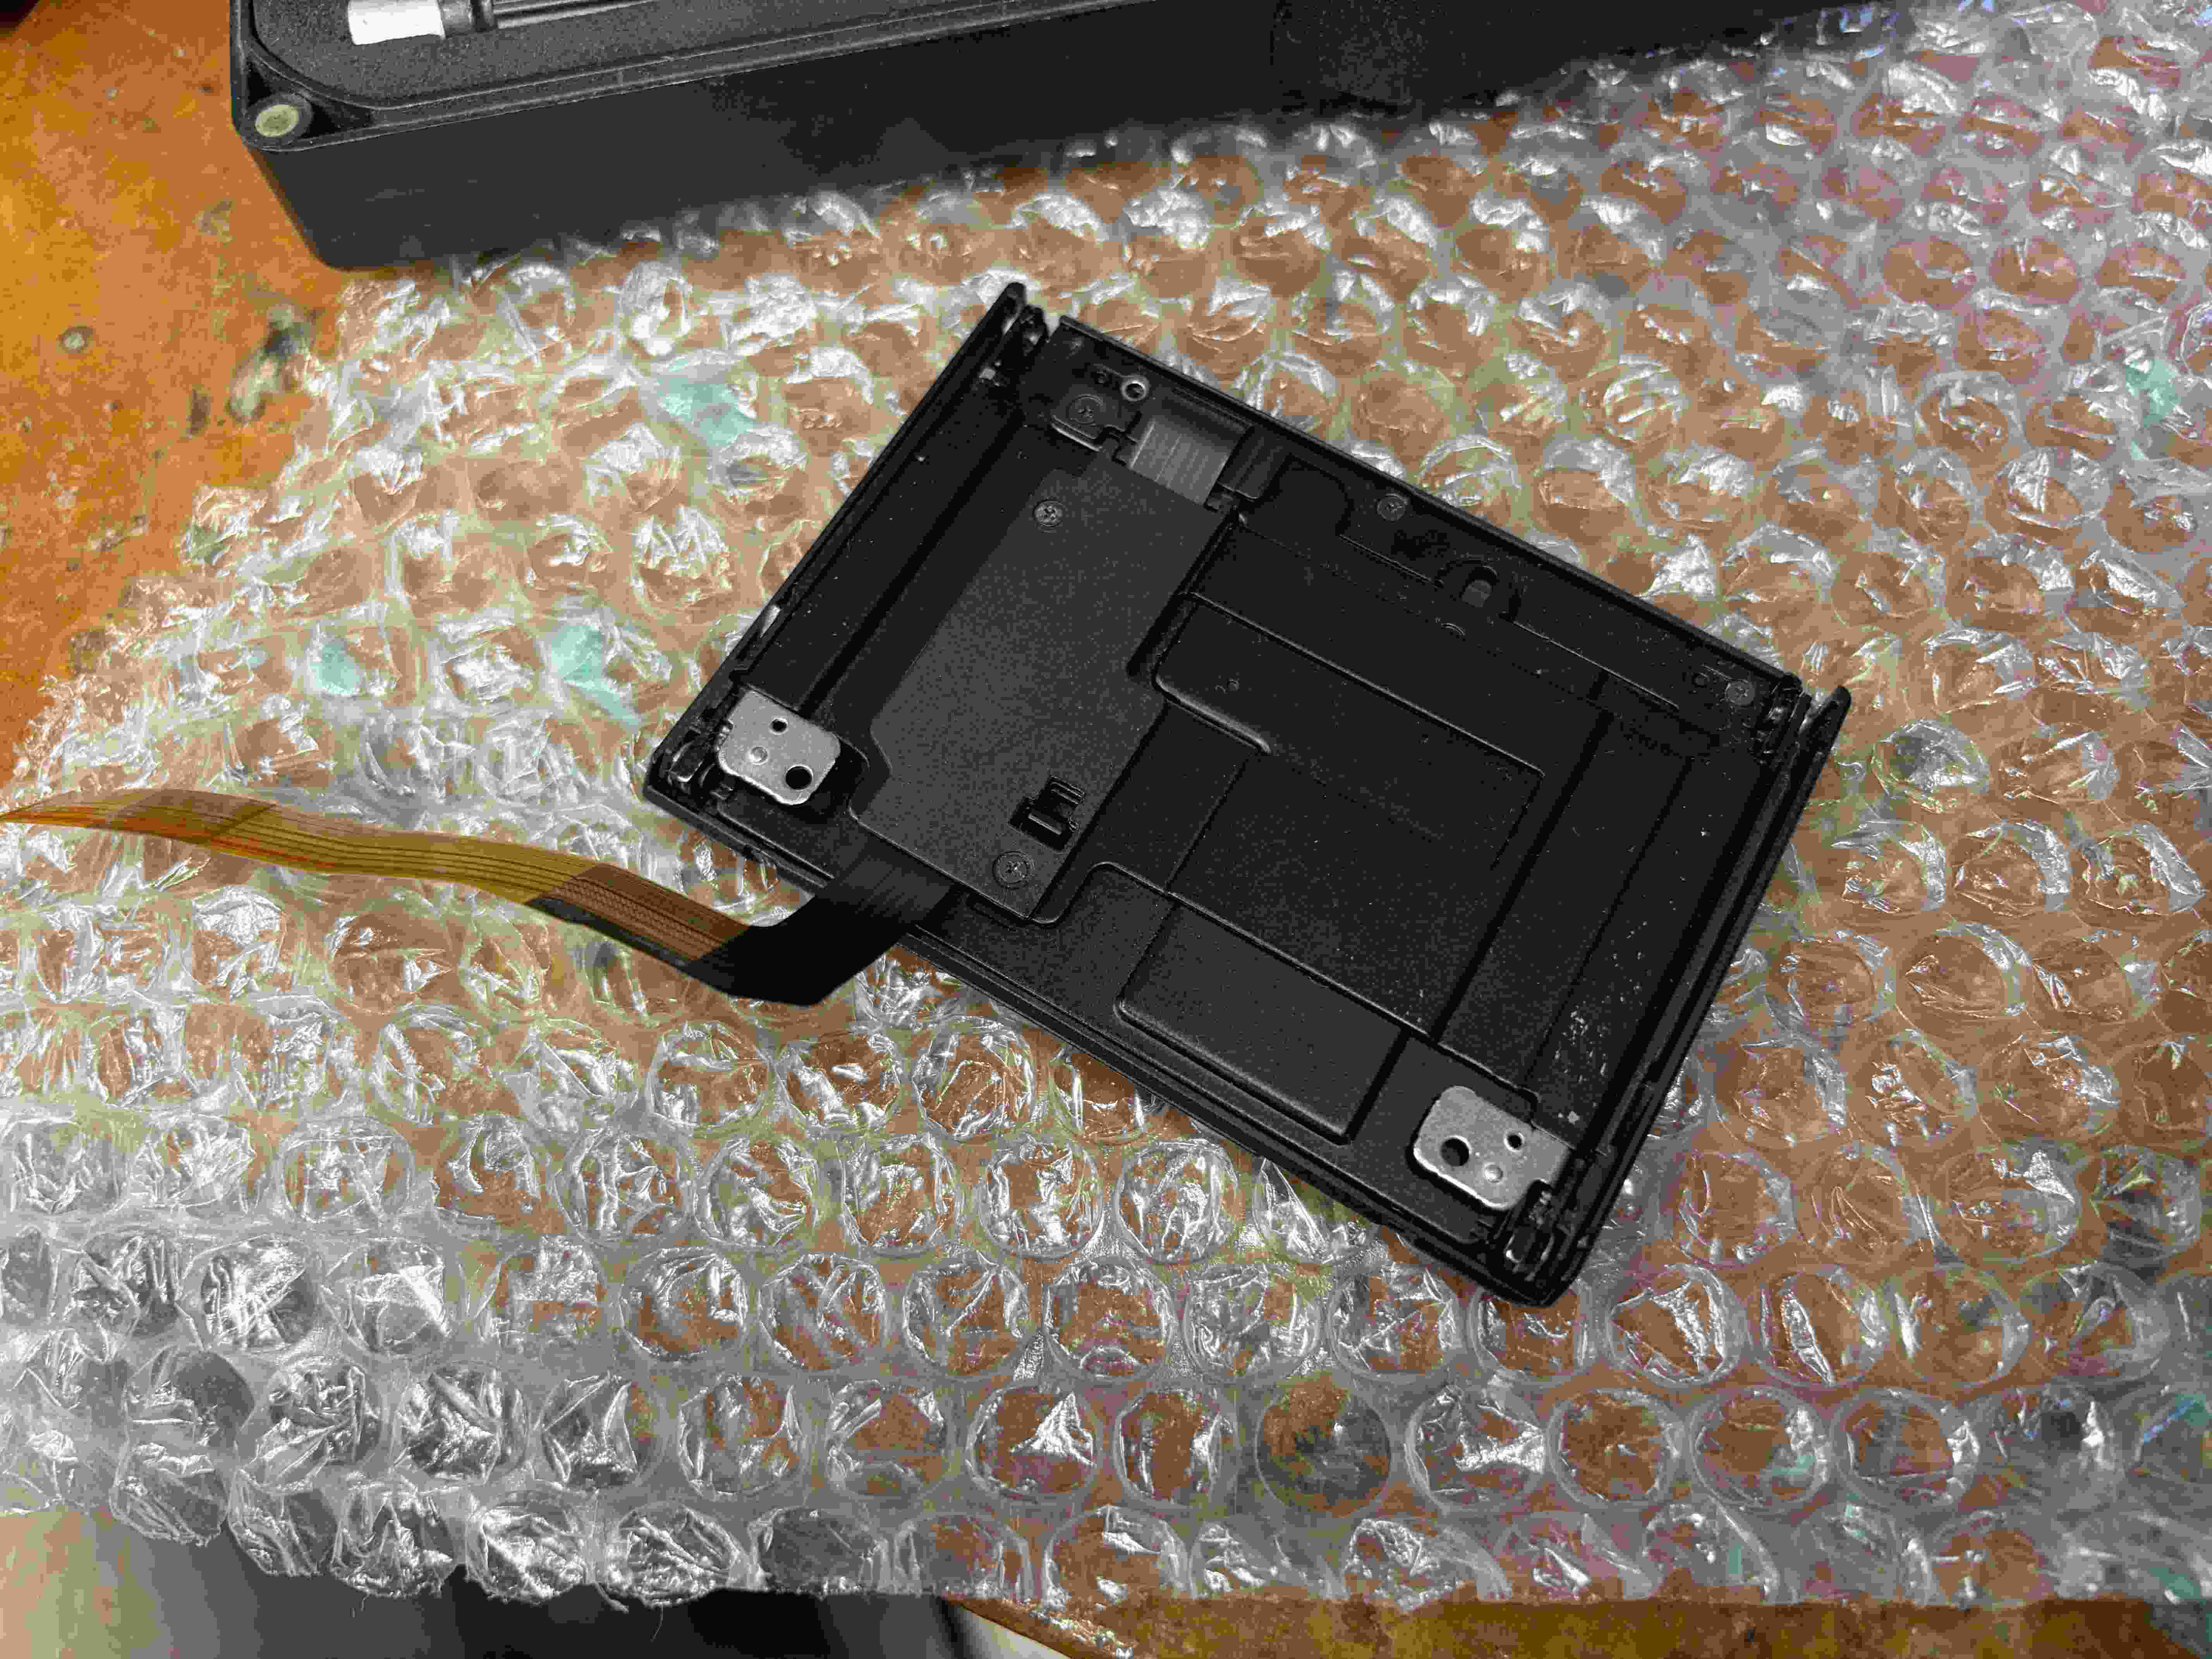
I started by disassembling the display, to disconnect half of the broken cable from the camera. There
was a few screws securing a metal backplate to the display, which when removed exposed part of the cable
that had broken off.
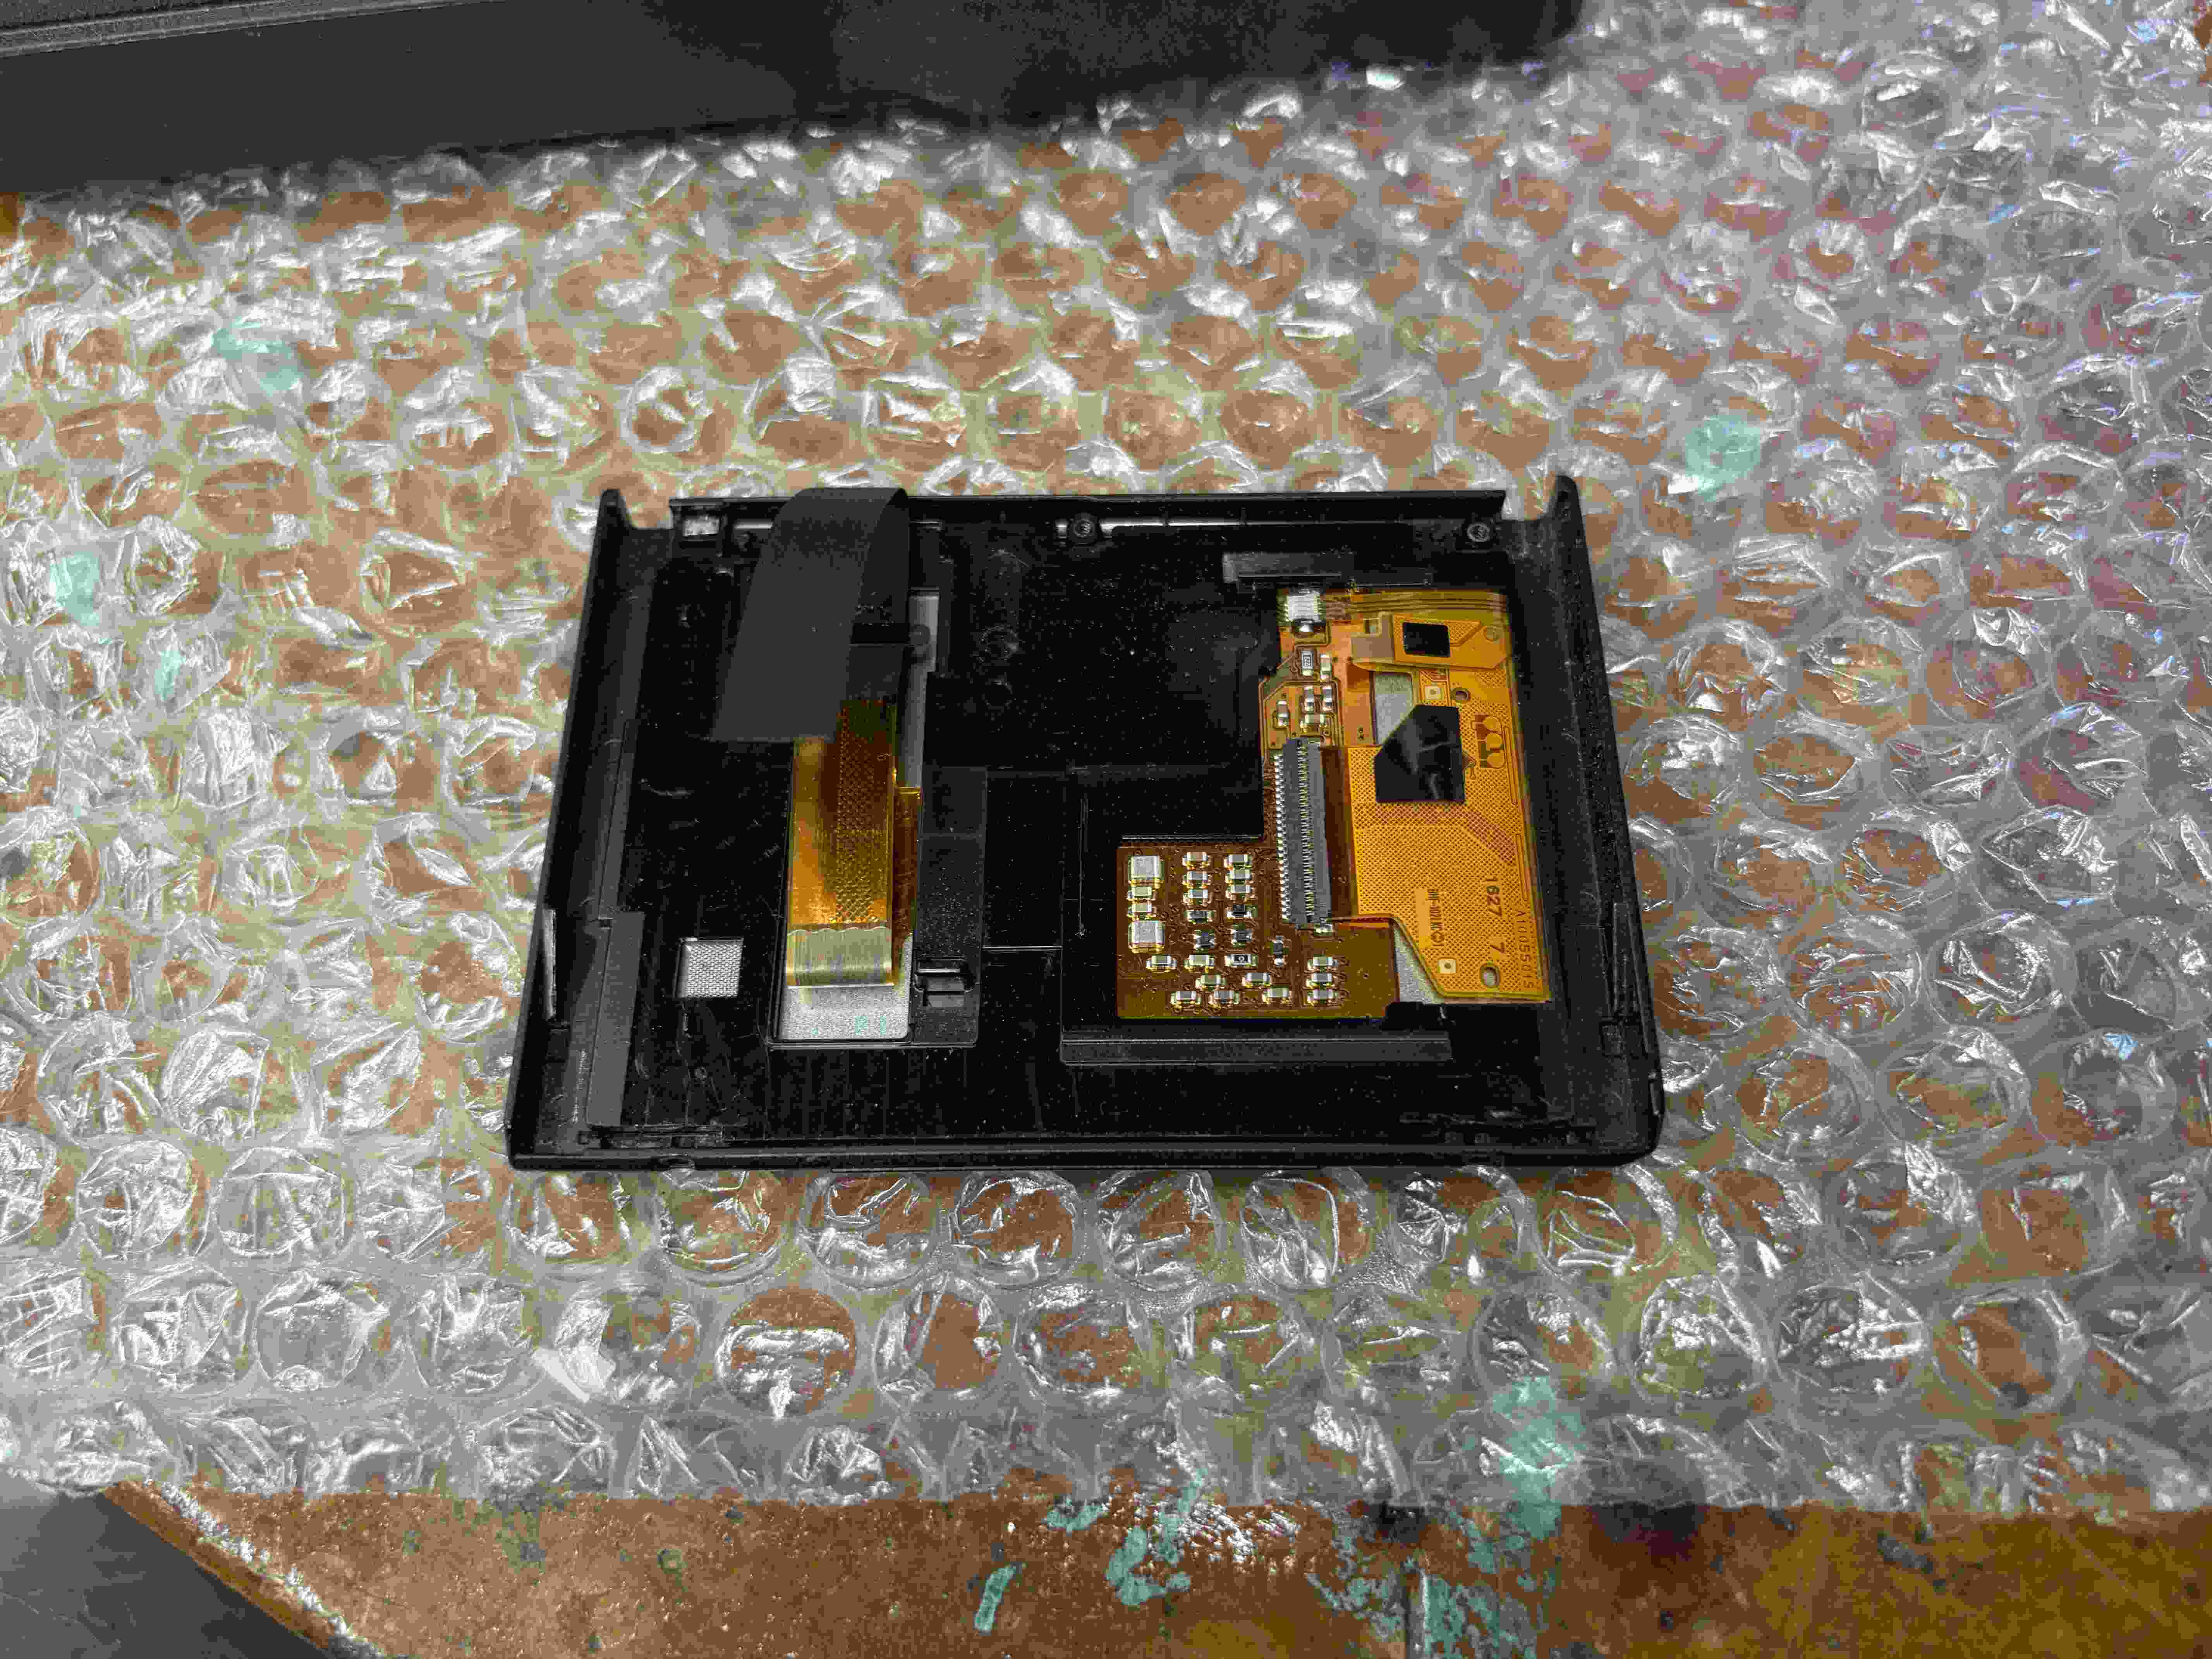
Under the backplate was a plastic retainer that looked to hold in the cable so it could slide up and down
without wearing too much on the metal. Once this was removed, I could disconnect the two flat flex cables
which went to the display. after, I peeled off the remaining cable and removed it.
Reinstalling the cable was pretty much the same process but backwards, where I needed to apply new double
sided tape to hold the cable down and route the cable back through the plastic retainer. The backplate was
also reattached.
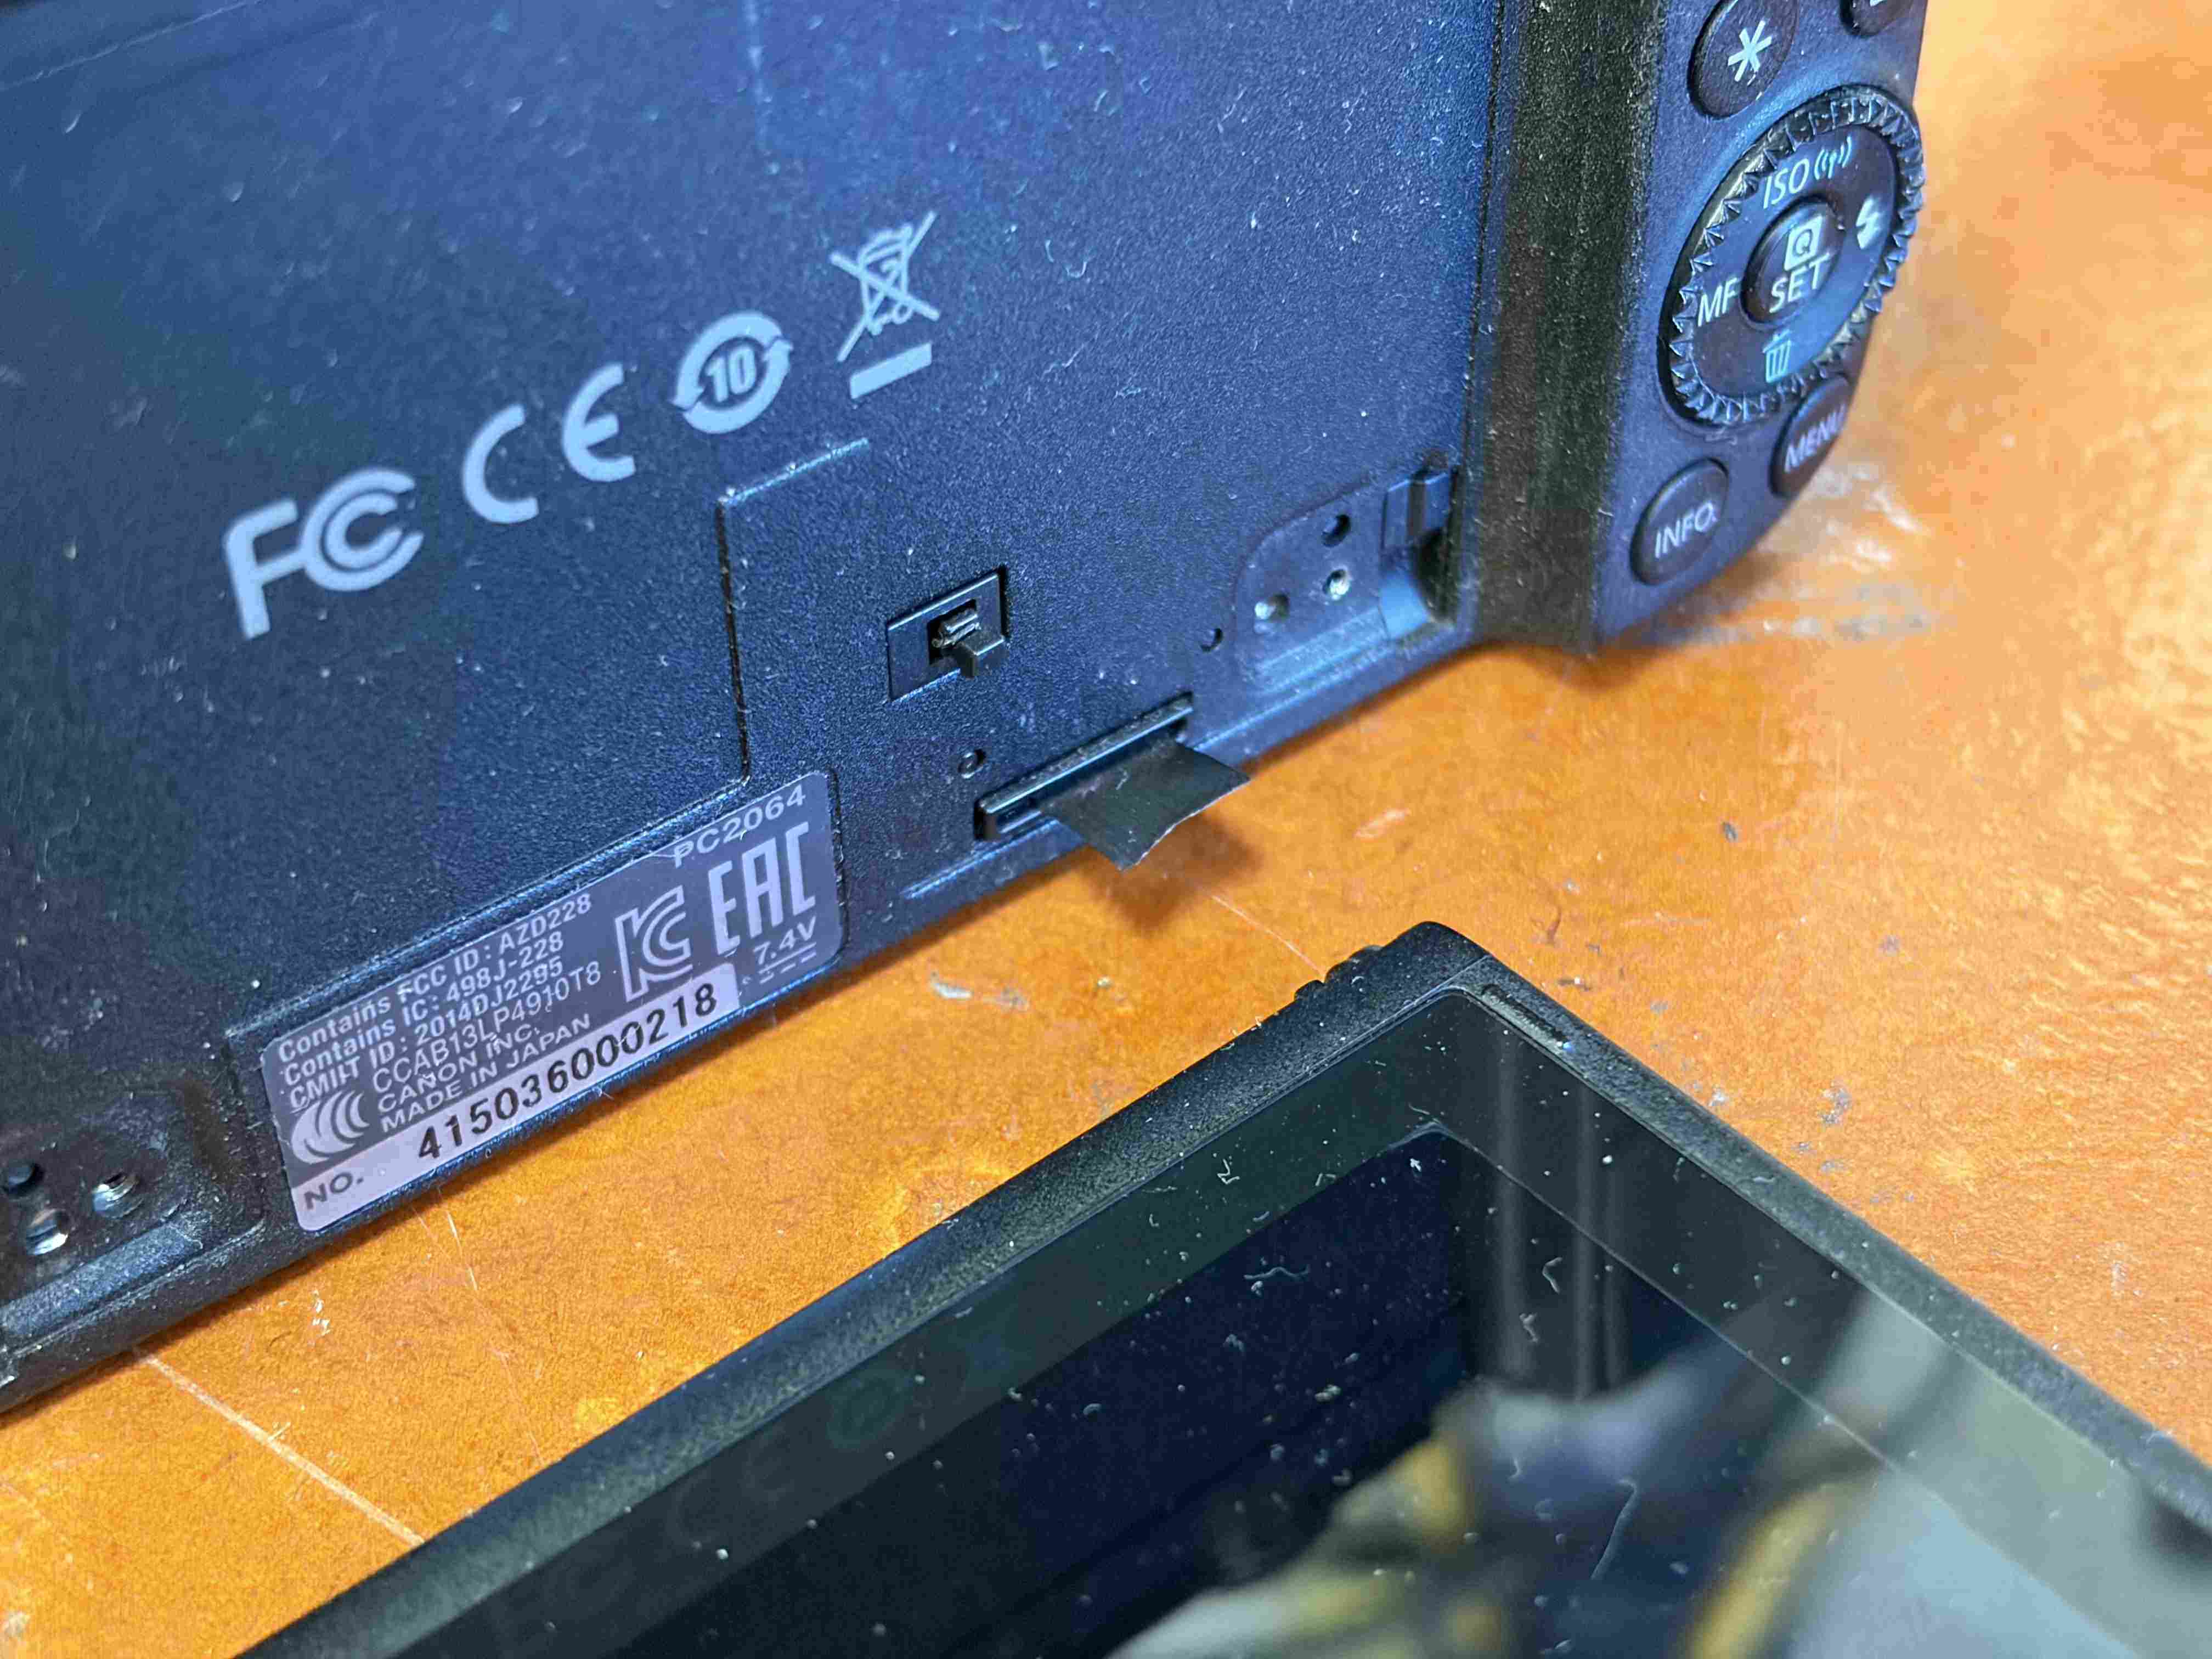
Now with the display reassembled, it was time to move onto the camera body. I initially thought that this
would be rather difficult, but it turned out that this camera has very easy access to the display cable
connector. There is about 7 screws around the back of the camera, which when removed allow the whole back
of the camera to come off. You do need to be careful as there is two connections quite close to the back:
The button cable and the display cable. I used a small pry tool to disconnect both of these.
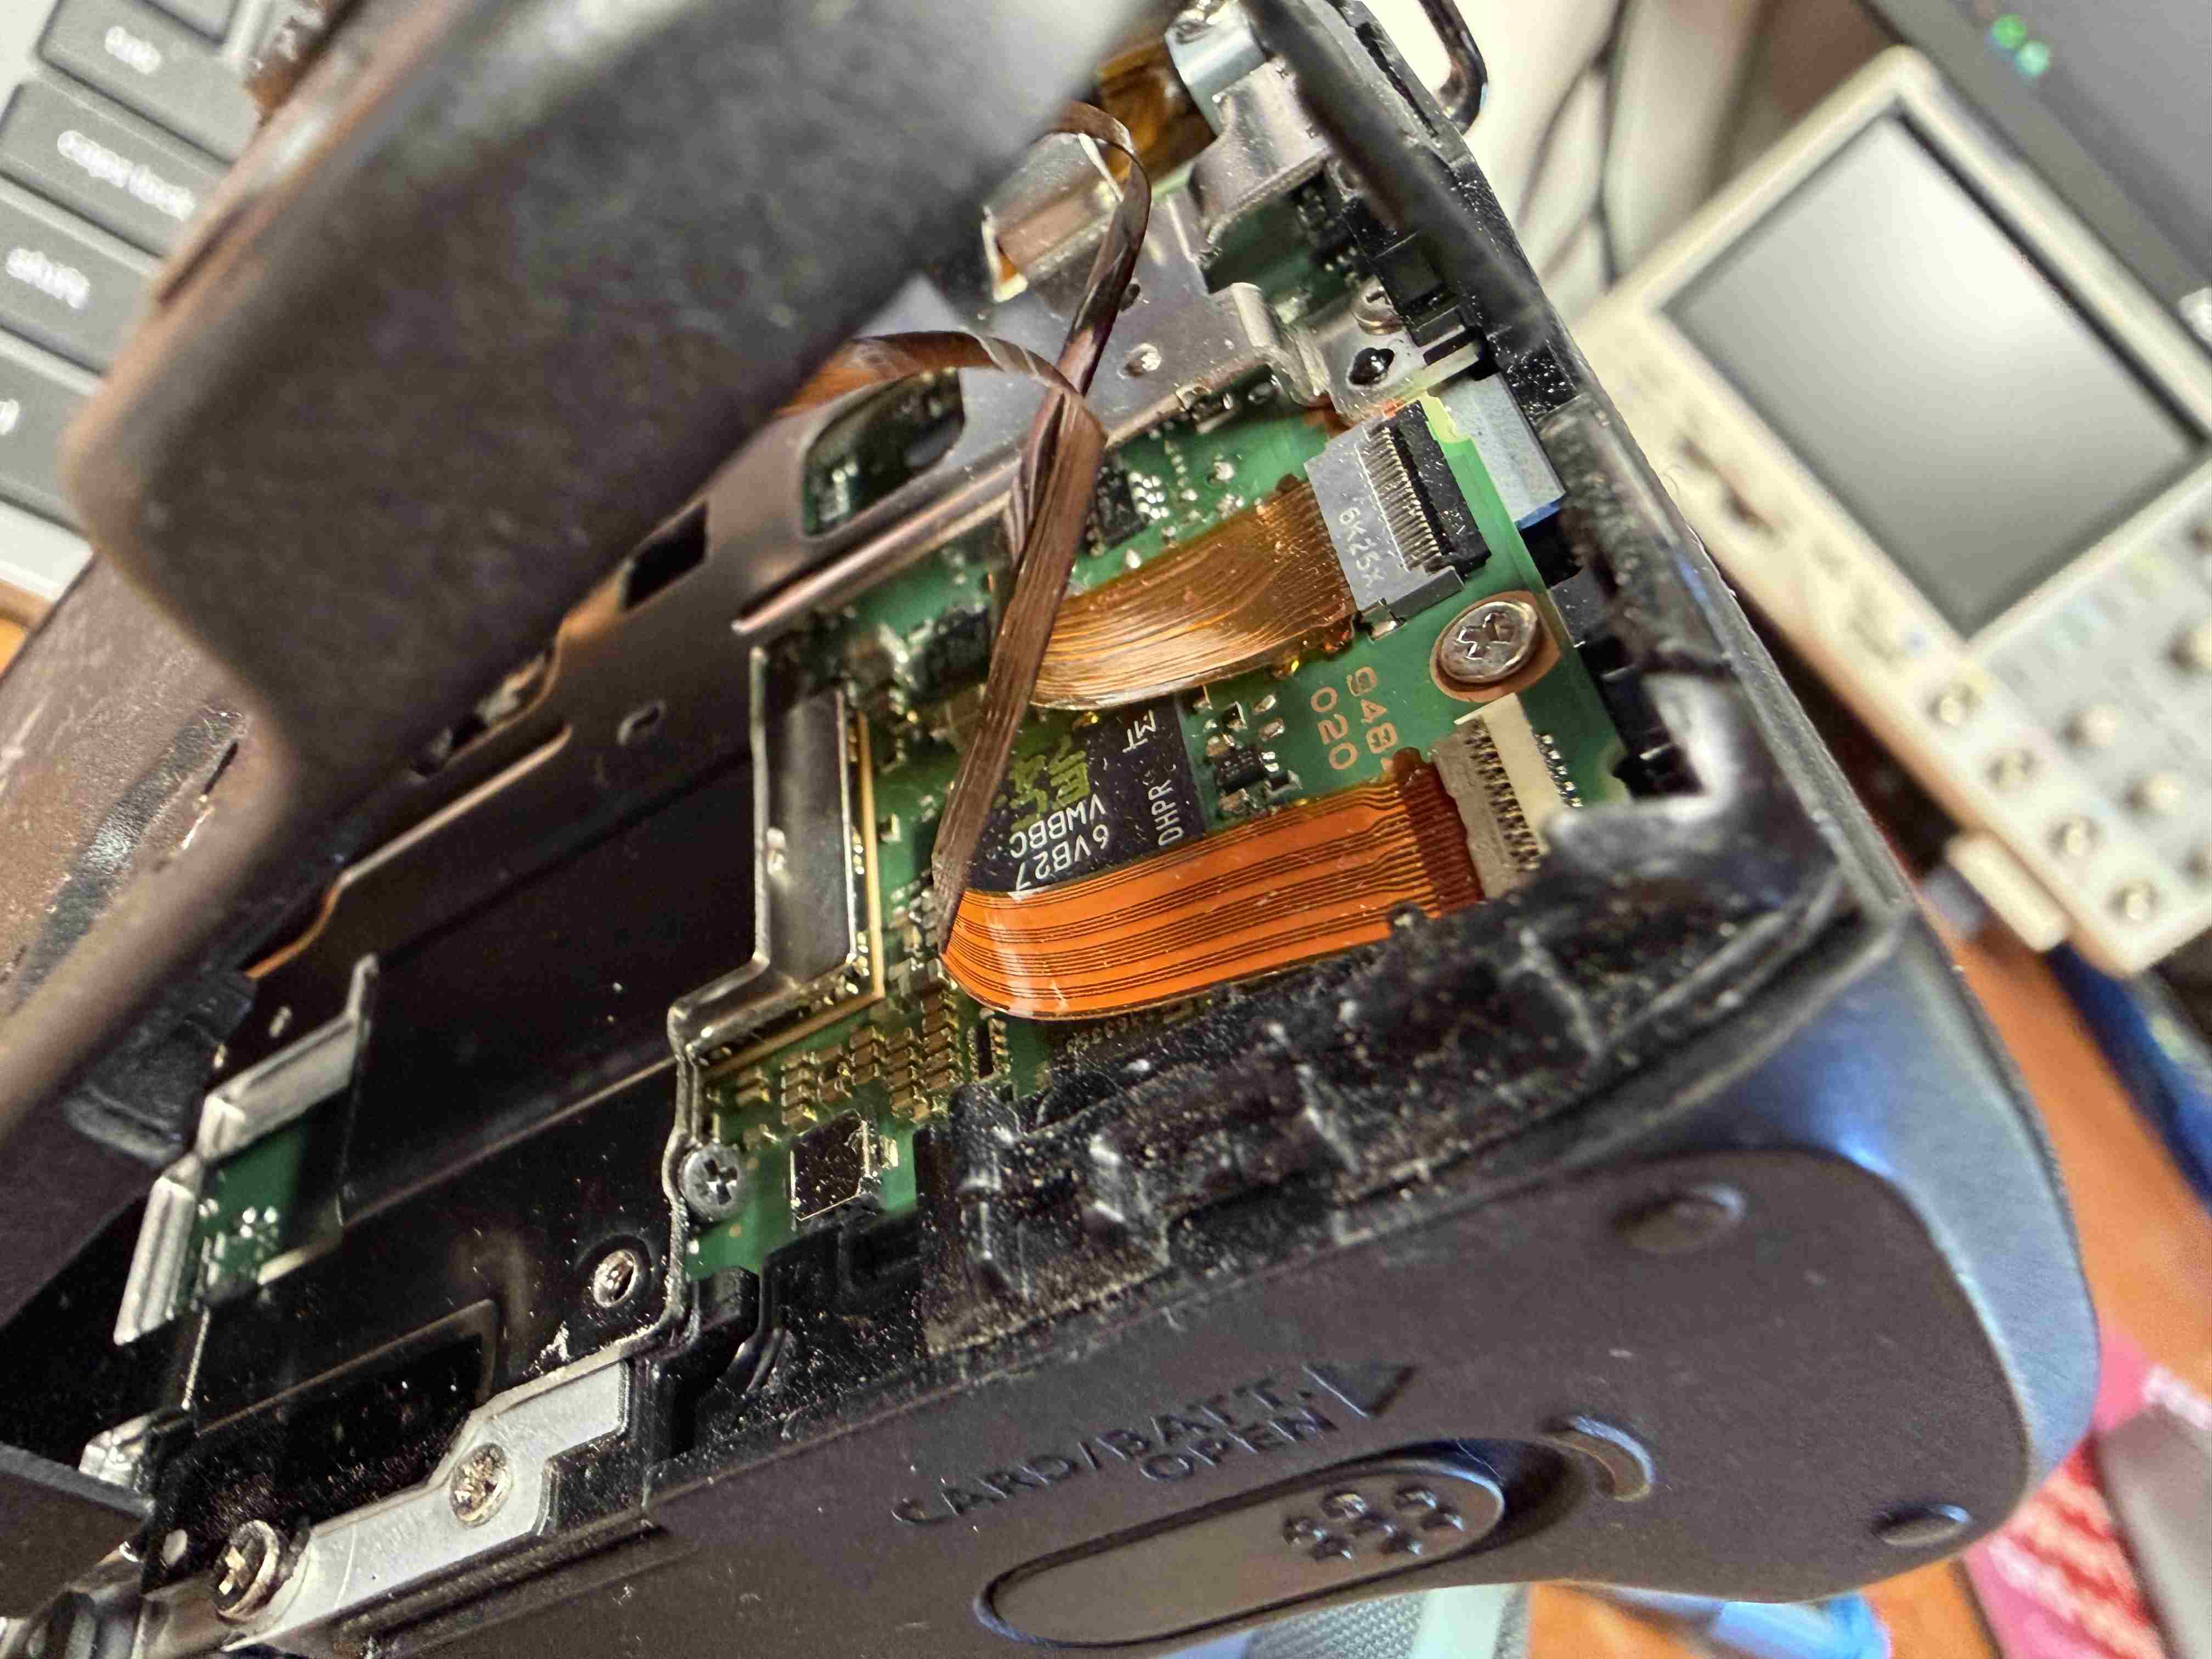
The tricky part here was routing the cable through the rather small gap it has, there is a sharp right angle
in the cable which proved a challenge to route, with a little bit of coercion required to get it in. I then
bent the cable to match the 2 bends the old one had. With this done and both the buttons and the display cable
connected, it was time to put it back together. all the screws were put back where they came from. I didn't get
the screws that attached the display, so I found some in my parts drawer to replace them.
I put the battery in the camera, held my breath, and pressed the power button.

Luckily that appeared to be the only issue with the camera, which now works as intended. The customer
was very happy with this outcome.